How to use Pi-hole with Stubby to provide both advertisement blocking and DNS over TLS. I’m using Fedora ARM server edition on a Raspberry Pi 3.
Download Fedora Server ARM edition and write it to an SD card for the Raspberry Pi 3.
sudo fedora-arm-image-installer \
--resizefs \
--image=Fedora-Server-armhfp-32-1.6-sda.raw.xz \
--target=rpi3 \
--media=/dev/mmcblk0
Make sure your Raspberry Pi can already resolve DNS queries from some other source, such as your router or internet provider.
Log into the Fedora Server Cockpit web interface for the server (port 9090) and enable automatic updates from the Software tab. Else you can do updates manually.
sudo dnf -y update
sudo reboot
Time
If you’re using DNS over TLS then time is important! The Raspberry Pi doesn’t have an RTC by default, so if the clock is wrong then stubby will fail to work and DNS will not resolve with errors like this on the stubby service.
Could not schedule query:
None of the configured upstreams could be used to send queries on the specified transports
I was using chrony for time but it didn’t seem to always fix the time fast enough and I ended up with a stubby that wouldn’t work. I swapped it out for systemd-timesyncd and it seems to be working much better.
First, I set my ntp server in the timesyncd /etc/systemd/timesyncd.conf config file.
NTP=192.168.0.1
Now we can disable chrony and enable systemd-timesyncd.
sudo systemctl disable --now chronyd
sudo systemctl enable --now systemd-timesyncd
Now you can check the status.
sudo timedatectl timesync-status
Resolver
I had a problem where systemd-resolved would bind to port 53 and stop PTL from starting, so let’s disable it.
sudo systemctl disable --now systemd-resolved
sudo unlink /etc/resolv.conf
echo nameserver 8.8.8.8 |sudo tee /etc/resolv.conf
Firewall
The Pi-hole installer is meant to modify the firewall automatically, however this has not happened on recent unsupported Fedora systems. The upstream instructions are in the PiHole documentation, however I just added DNS and HTTP to public zone instead.
sudo firewall-cmd --get-active-zones
sudo firewall-cmd --zone=public --add-service={dns,http}
sudo firewall-cmd --zone=public --add-service={dns,http} --permanent
sudo firewall-cmd --zone=public --list-all
SELinux
Pi-hole doesn’t support SELinux at the moment, however I have been running in enforcing mode for a while. It does stop the dashboard from working (mostly blocks PHP from accessing things it needs) but you can always write your own rules if you need the dashboard but want the rest of your system in enforcing mode.
I don’t like recommending it, but if you’re not going to write your own rules, then it might be better to disable SELinux entirely (sorry Dan) as I noticed SetroubleshootP caused very high CPU usage and basically ate up a whole CPU thread otherwise.
  PID USER      PR  NI    VIRT    RES    SHR S  %CPU  %MEM     TIME+ COMMAND
 5921 root      20   0   78084  47508  11012 R  98.3   4.8   3:28.43 SetroubleshootP
 3813 setroub+  20   0  145024  86964  16068 S   7.9   8.8   4:17.54 setroubleshootd
If you want to disable it, you’ll need to change the config file and reboot, or you could set it to Permissive mode temporarily (until a reboot).
sudo sed -i s/^SELINUX=.*/SELINUX=disabled/g /etc/selinux/config
sudo reboot
Install Stubby
Install Stubby to forward DNS requests over TLS.
sudo dnf install getdns-stubby bind-utils
Edit the Stubby config file.
sudo vim /etc/stubby/stubby.yml
Set listen_addresses to localhost 127.0.0.1 on port 53000 (also set your preferred upstream DNS providers, if you want to change the defaults, e.g. CloudFlare).
listen_addresses:
 - 127.0.0.1@53000
 - 0::1@53000
If you want to enable DNSSec validation for Stubby, then enable it with this config option.
echo 'dnssec_return_status: GETDNS_EXTENSION_TRUE' | \
sudo tee -a /etc/stubby/stubby.yml
Ensure Stubby is only started after network is up, just to be sure.
sudo mkdir -p /etc/systemd/system/stubby.service.d
cat << EOF |sudo tee /etc/systemd/system/stubby.service.d/override.conf
[Unit]
After=network-online.target
EOF
sudo systemctl daemon-reload
Start and enable Stubby, checking that it’s listening on port 53000.
sudo systemctl restart stubby
sudo ss -lunp |grep 53000
sudo systemctl enable stubby
Stubby should now be listening on port 53000, which we can test with dig. The following command should return an IP address for google.com.
dig @localhost -p 53000 google.com
Next we’ll use Pi-hole as a caching DNS service to forward requests to Stubby (and provide advertisement blocking).
Install Pi-hole
Install Pi-hole from their Git repository and run it. Note that we need to disable the supported OS check, as current Fedora release (such as 33 and 34) are not supported.
sudo dnf install git
git clone --depth 1 https://github.com/pi-hole/pi-hole.git Pi-hole
cd "Pi-hole/automated install/"
PIHOLE_SKIP_OS_CHECK=true sudo -E ./basic-install.sh
The installer will run, install deps and prompt for configuration. When asked what DNS to use, select Custom from the bottom of the list.

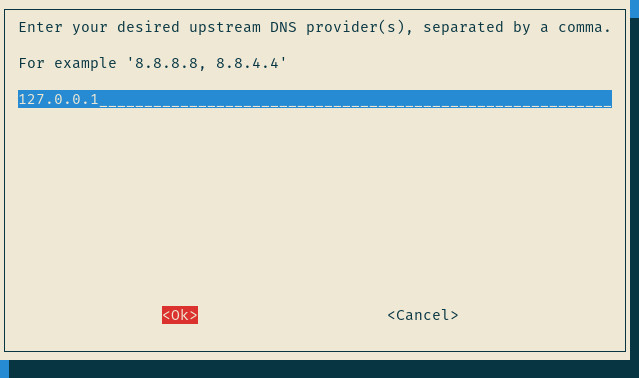
Set the server to 127.0.0.1 (note that we cannot set the port here, we’ll do that later)
In the rest of the installer, also enable the web interface and server if you like and allow it to modify the firewall else this won’t work at all! 🙂 Make sure you take note of your admin password from the last screen, too.
Add the port to our upstream (localhost) DNS server so that Pi-hole can forward requests to Stubby.
sudo sed -i '/^server=127/ s/$/#53000/' /etc/dnsmasq.d/01-pihole.conf
sudo sed -i '/^PIHOLE_DNS_[1-9]=/ s/$/#53000/' /etc/pihole/setupVars.conf
sudo systemctl restart pihole-FTL
If you don’t want to muck around with localhost and ports you could probably add an IP alias and bind your Stubby to that on port 53 instead.
Finally, we need pihole to start after stubby, so let’s create an override for the service.
sudo mkdir -p /etc/systemd/system/pihole-FTL.service.d
cat << EOF | sudo tee /etc/systemd/system/pihole-FTL.service.d/wants.conf
[Unit]
Wants=stubby.service
After=stubby.service
EOF
sudo systemctl daemon-reload
sudo systemctl restart pihole-FTL
Testing
On a machine on your network, set /etc/resolv.conf to point to the IP address of your Pi-hole server to use it for DNS.
On the Pi-hole, check incoming DNS requests to ensure they are listening and forwarding on the right ports using tcpdump.
sudo tcpdump -Xnn -i any port 53 or port 53000 or port 853
Back on your client machine, ping google.com and with any luck it will resolve.
For a new query, tcpdump on your Pi-hole box should show an incoming request from the client machine to your pi-hole on port 53, a follow-up localhost request to 53000 and then outward request from your Pi-hole to 853, then finally the returned result back to your client machine.
You should also notice that the payload for the internal DNS queries are plain text, but the remote ones are encrypted.
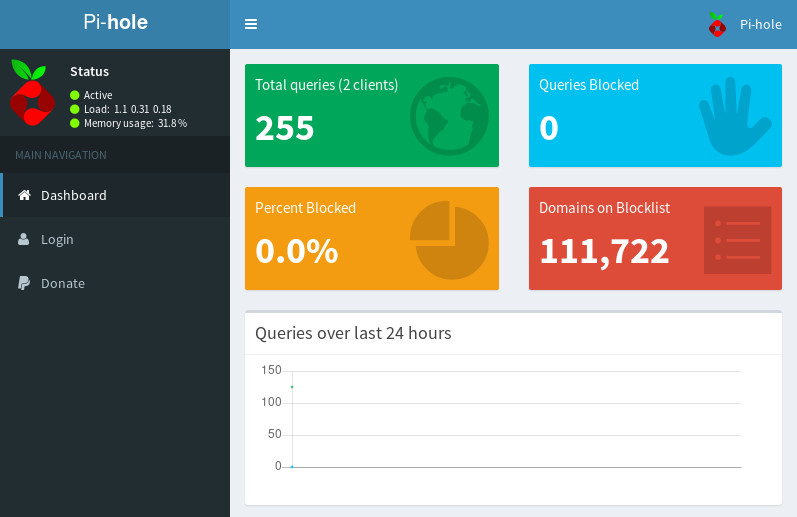
Web interface
Start browsing around and see if you notice any difference where you’d normally see ads. Then jump onto the /admin web interface on your Pi-hole box and take a look around.
If that all worked, you could get your DHCP server to point clients to your shiny new Pi-hole box (i.e. use DHCP options 6,<ip_address>).
If you’re feeling extra brave, you could redirect all unencrypted DNS traffic on port 53 back to your internal DNS before it leaves your network, but that might be another blog post…

One thought on “Pi-hole with DNS over TLS on Fedora”
Thank you for share! 😉